
To use the latest functionalities of a Nozori hardware, you can update it’s firmware.
This is done in 2 steps: Flashing the firmware and calibrate the inputs.
Please read this documentation before starting an update.
This process is explained using a Nozori 68. It’s the same for a Nozori 84 except the “missing” CV input jack. You obviously don’t have to calibrate them.
Flashing new firmware
The 1st step is the same as the OCS-2 or MMO-3 synth. You can follow instruction of this page.
Inputs calibration
The 2nd step consist of the calibration of the 1V/Octave and 0V of the inputs.
You need a sequencer or keyboard that provide an accurate 1V/Octave control. If you don’t have one, you can skip this step since default calibration is close to 1V/Octave.
- Switch OFF the module
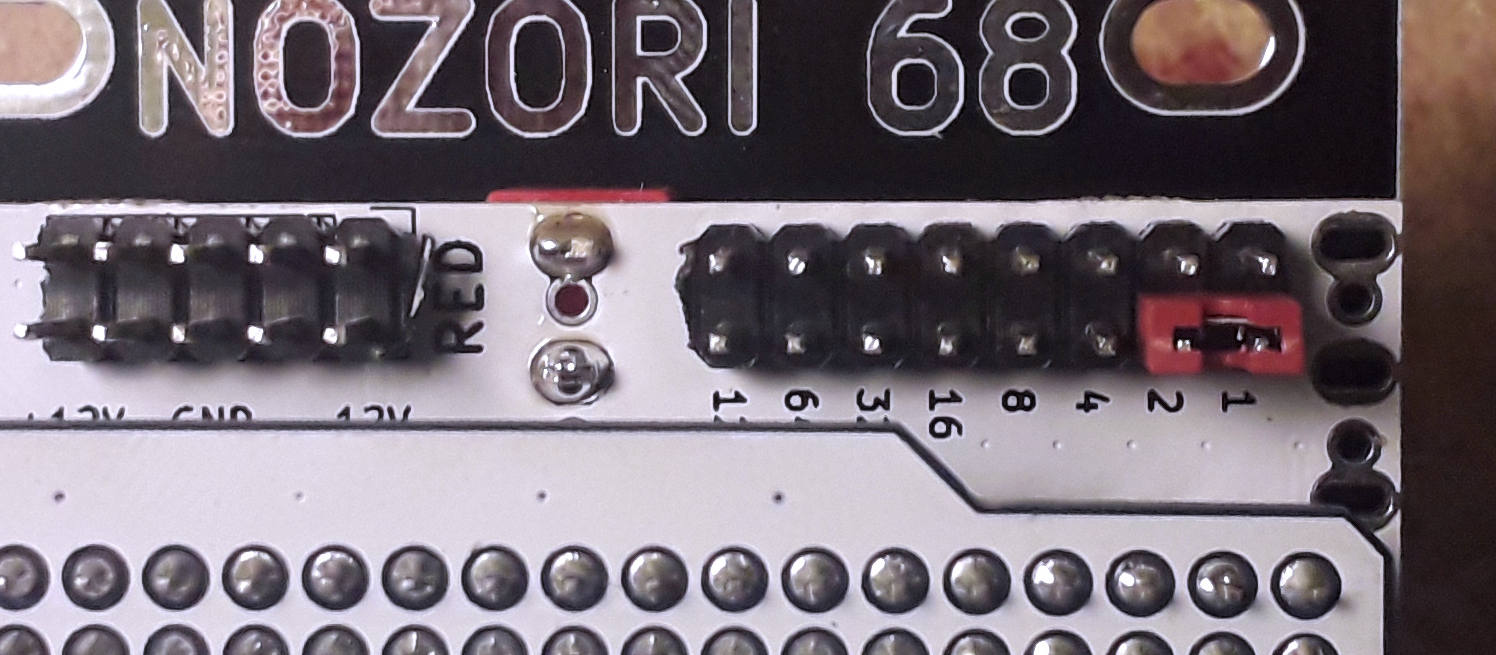
- Remove all jumper and connect pin “1” and “2”. (remove the Nozori expansion board if you have one)
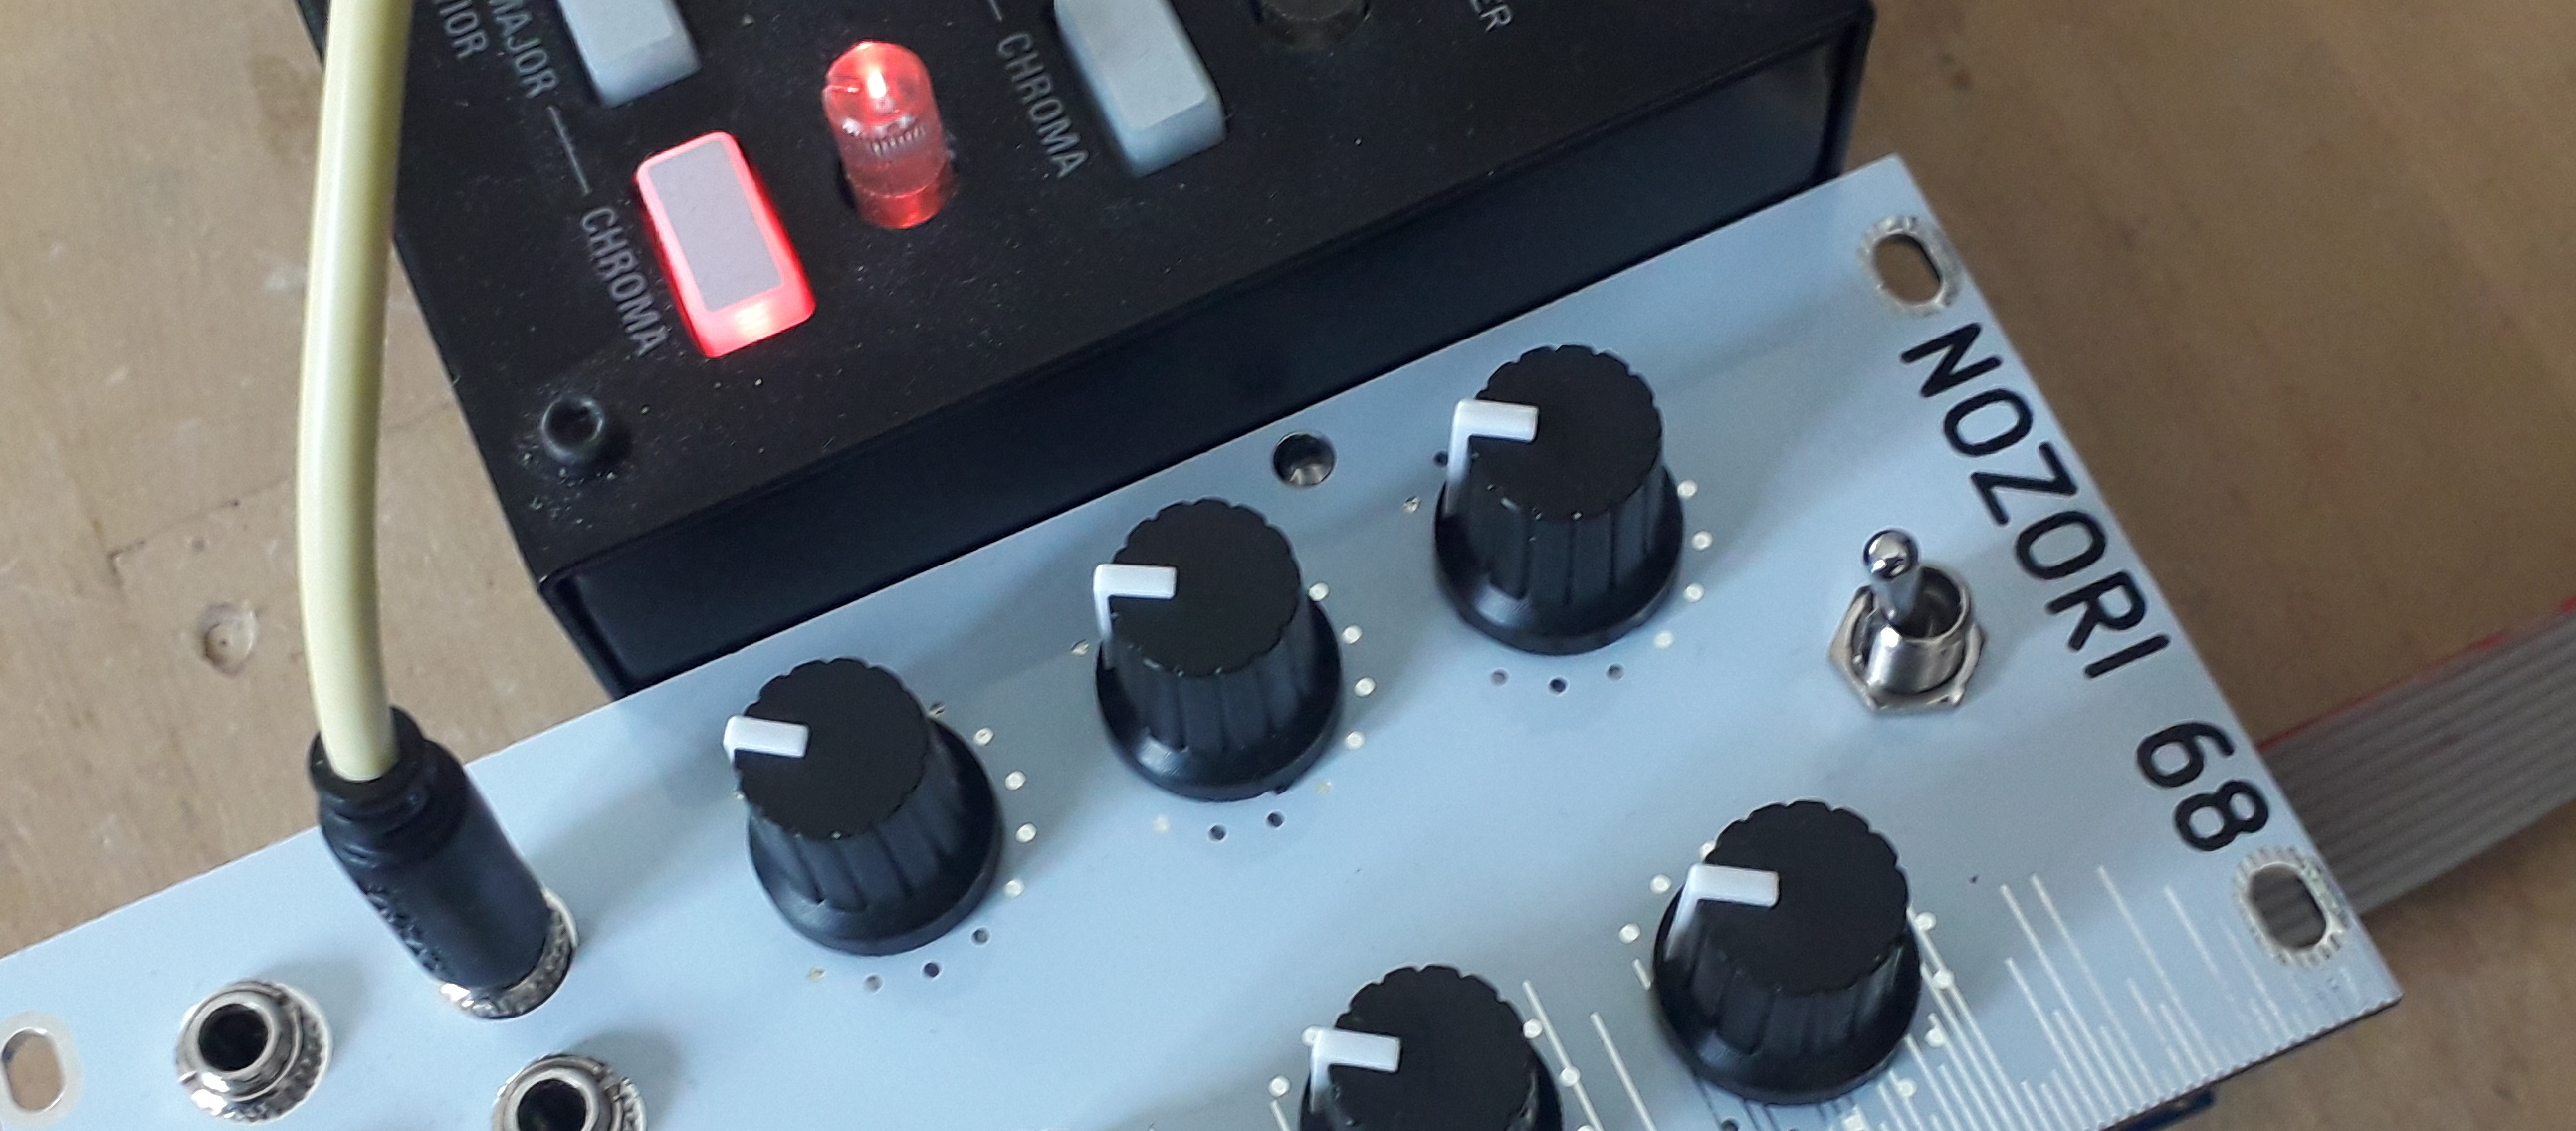
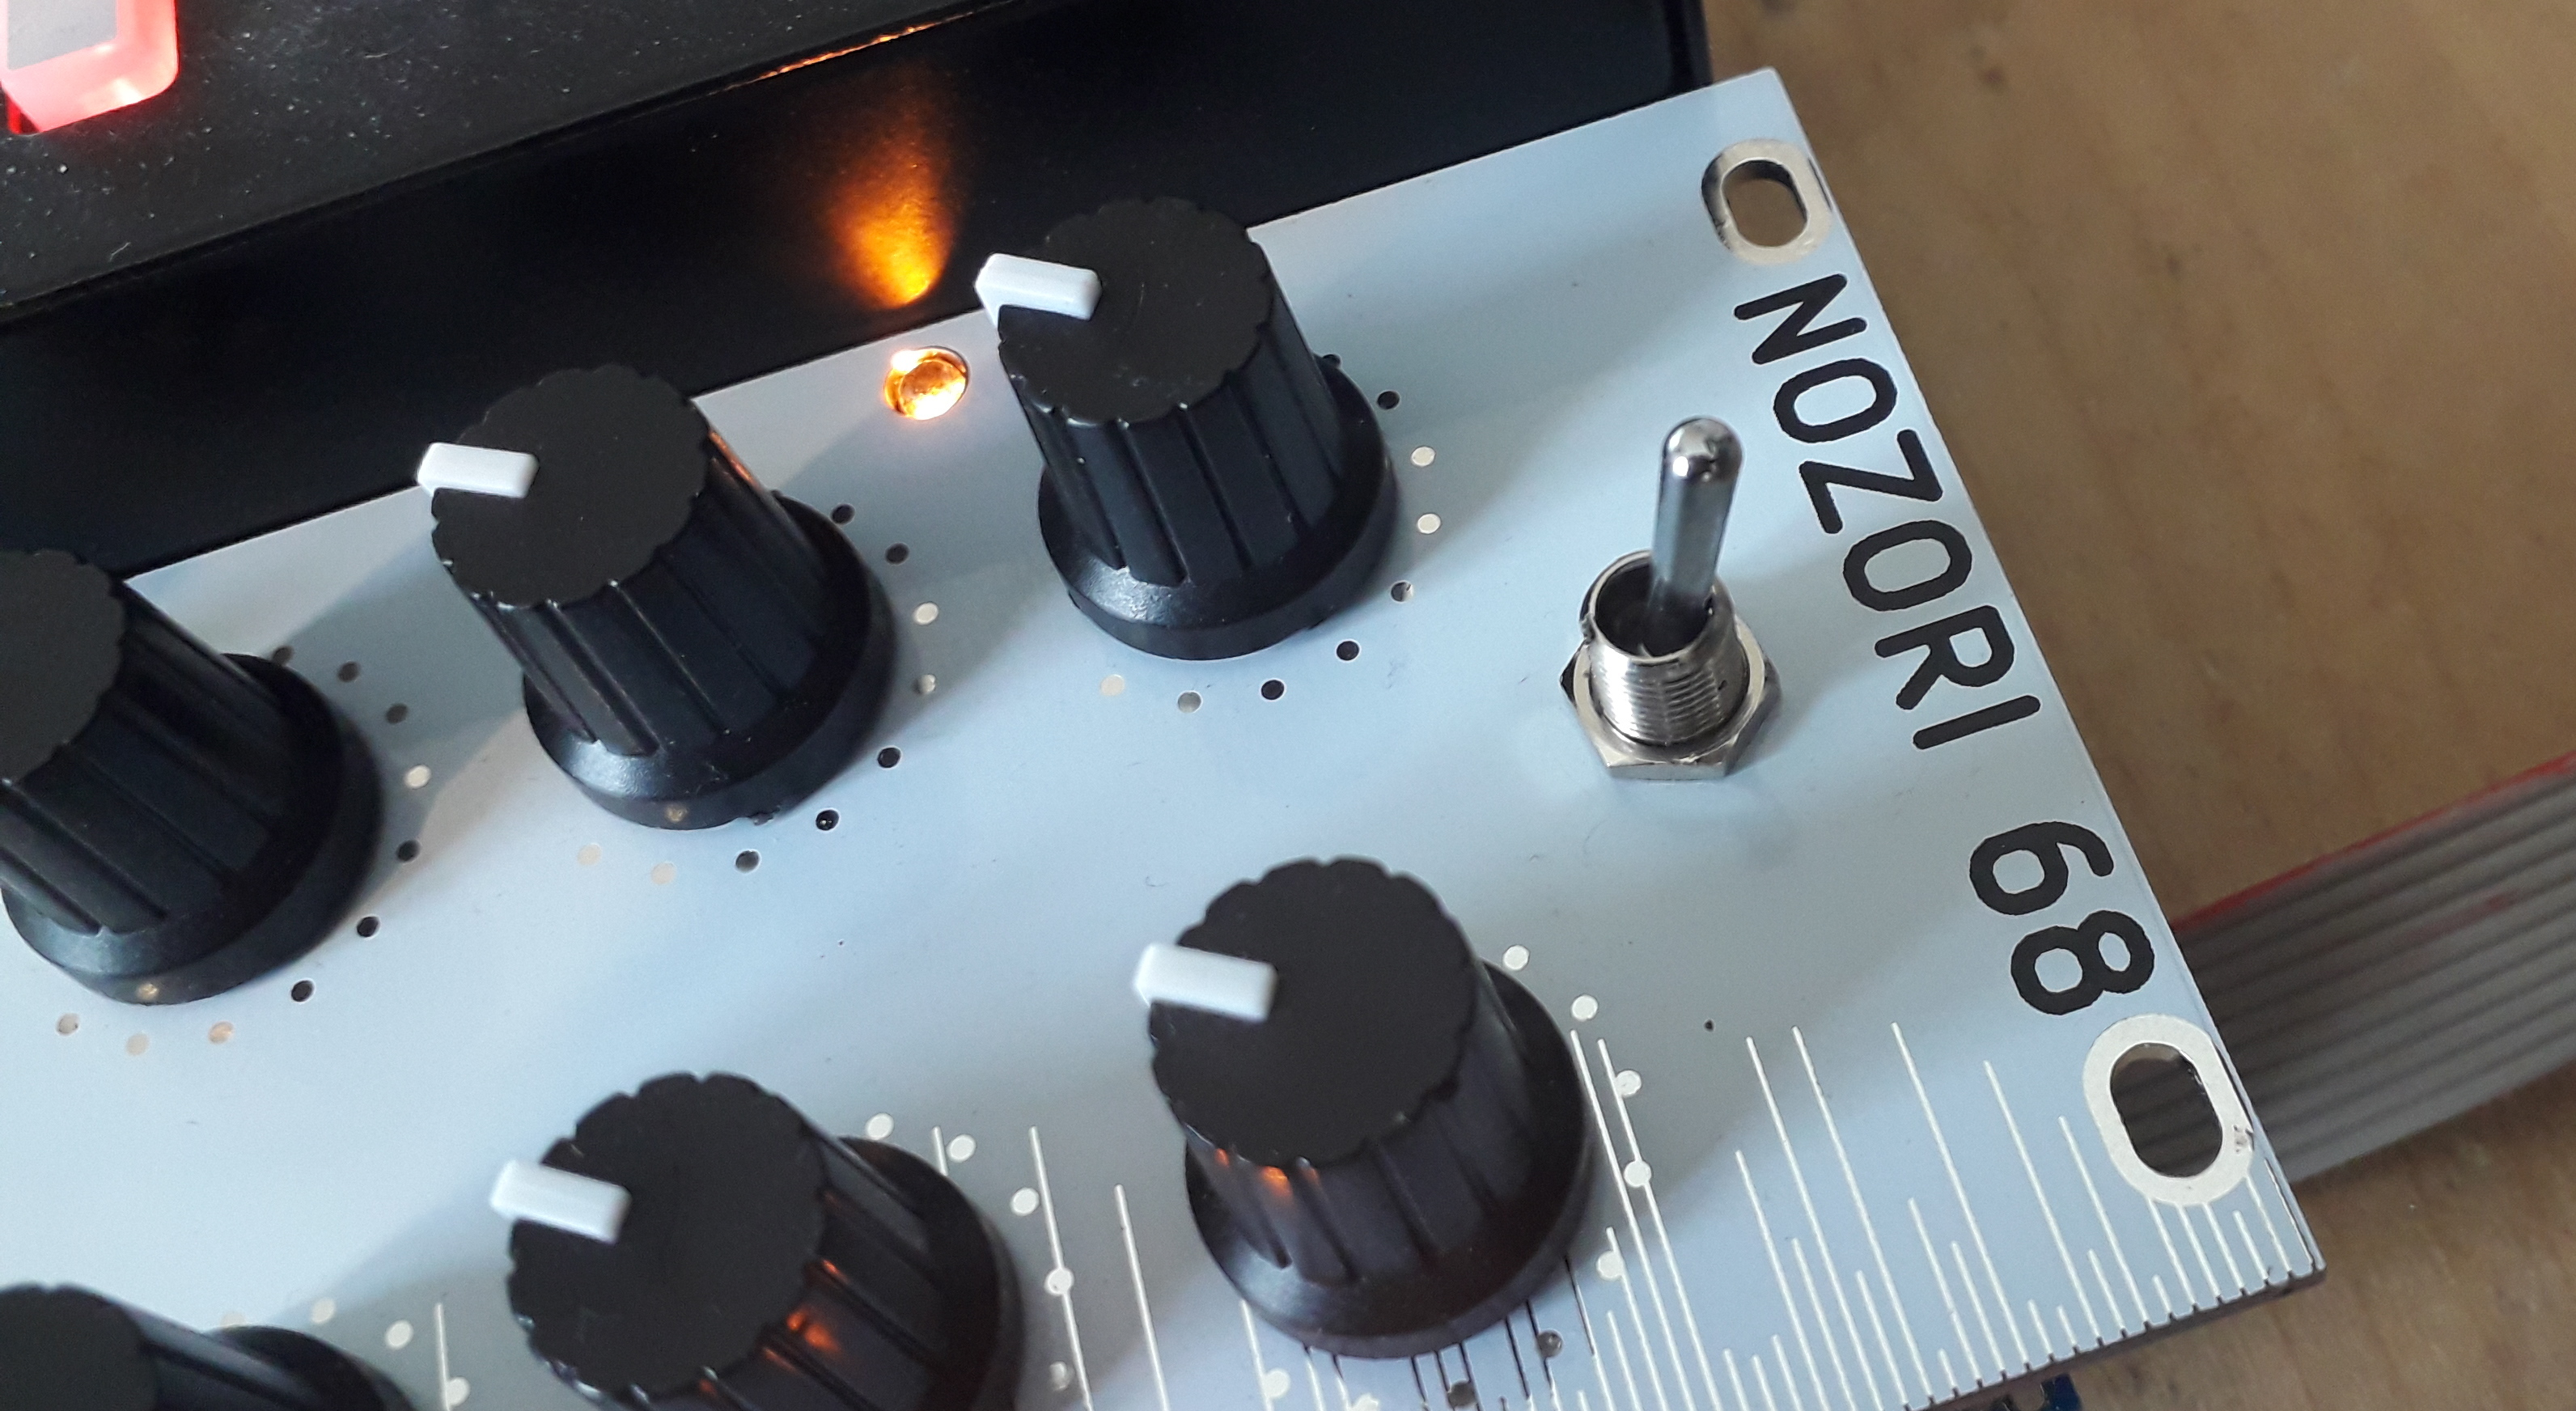
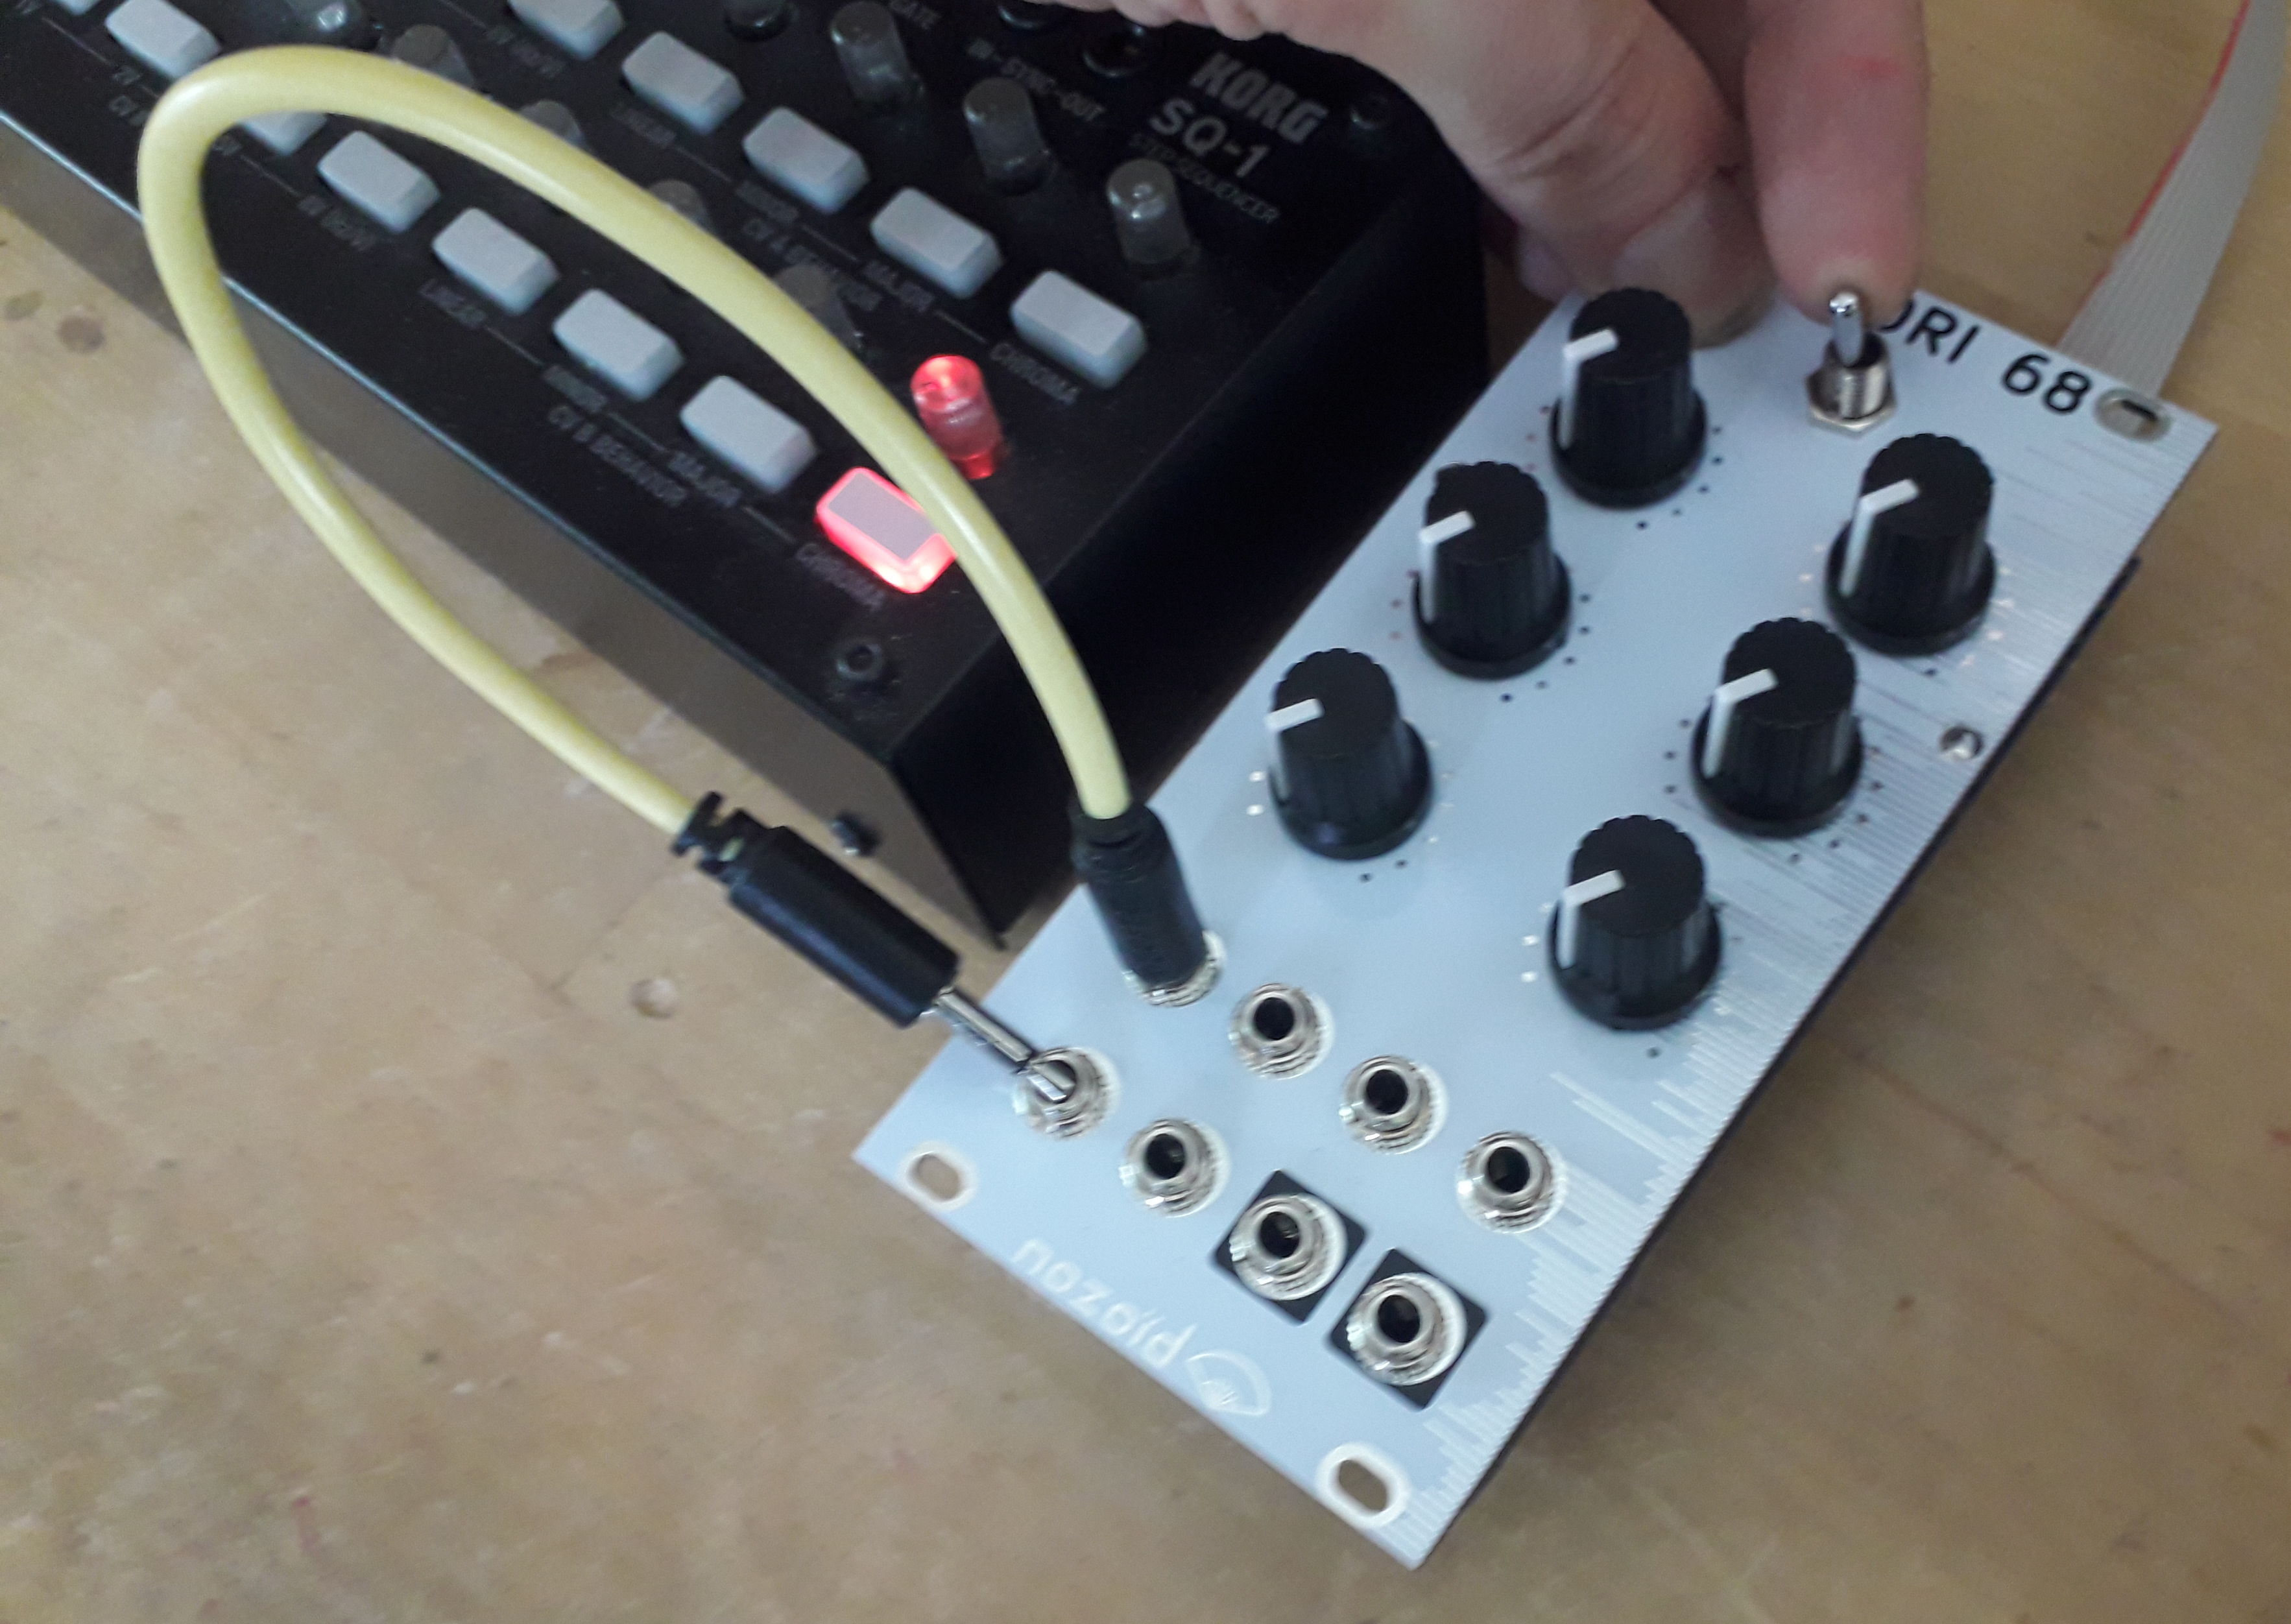
- Put the 3 way switch in the middle position
- Switch ON the module
- When the module started, the 2 leds in the front should blink
- Repeat the following operations for all inputs
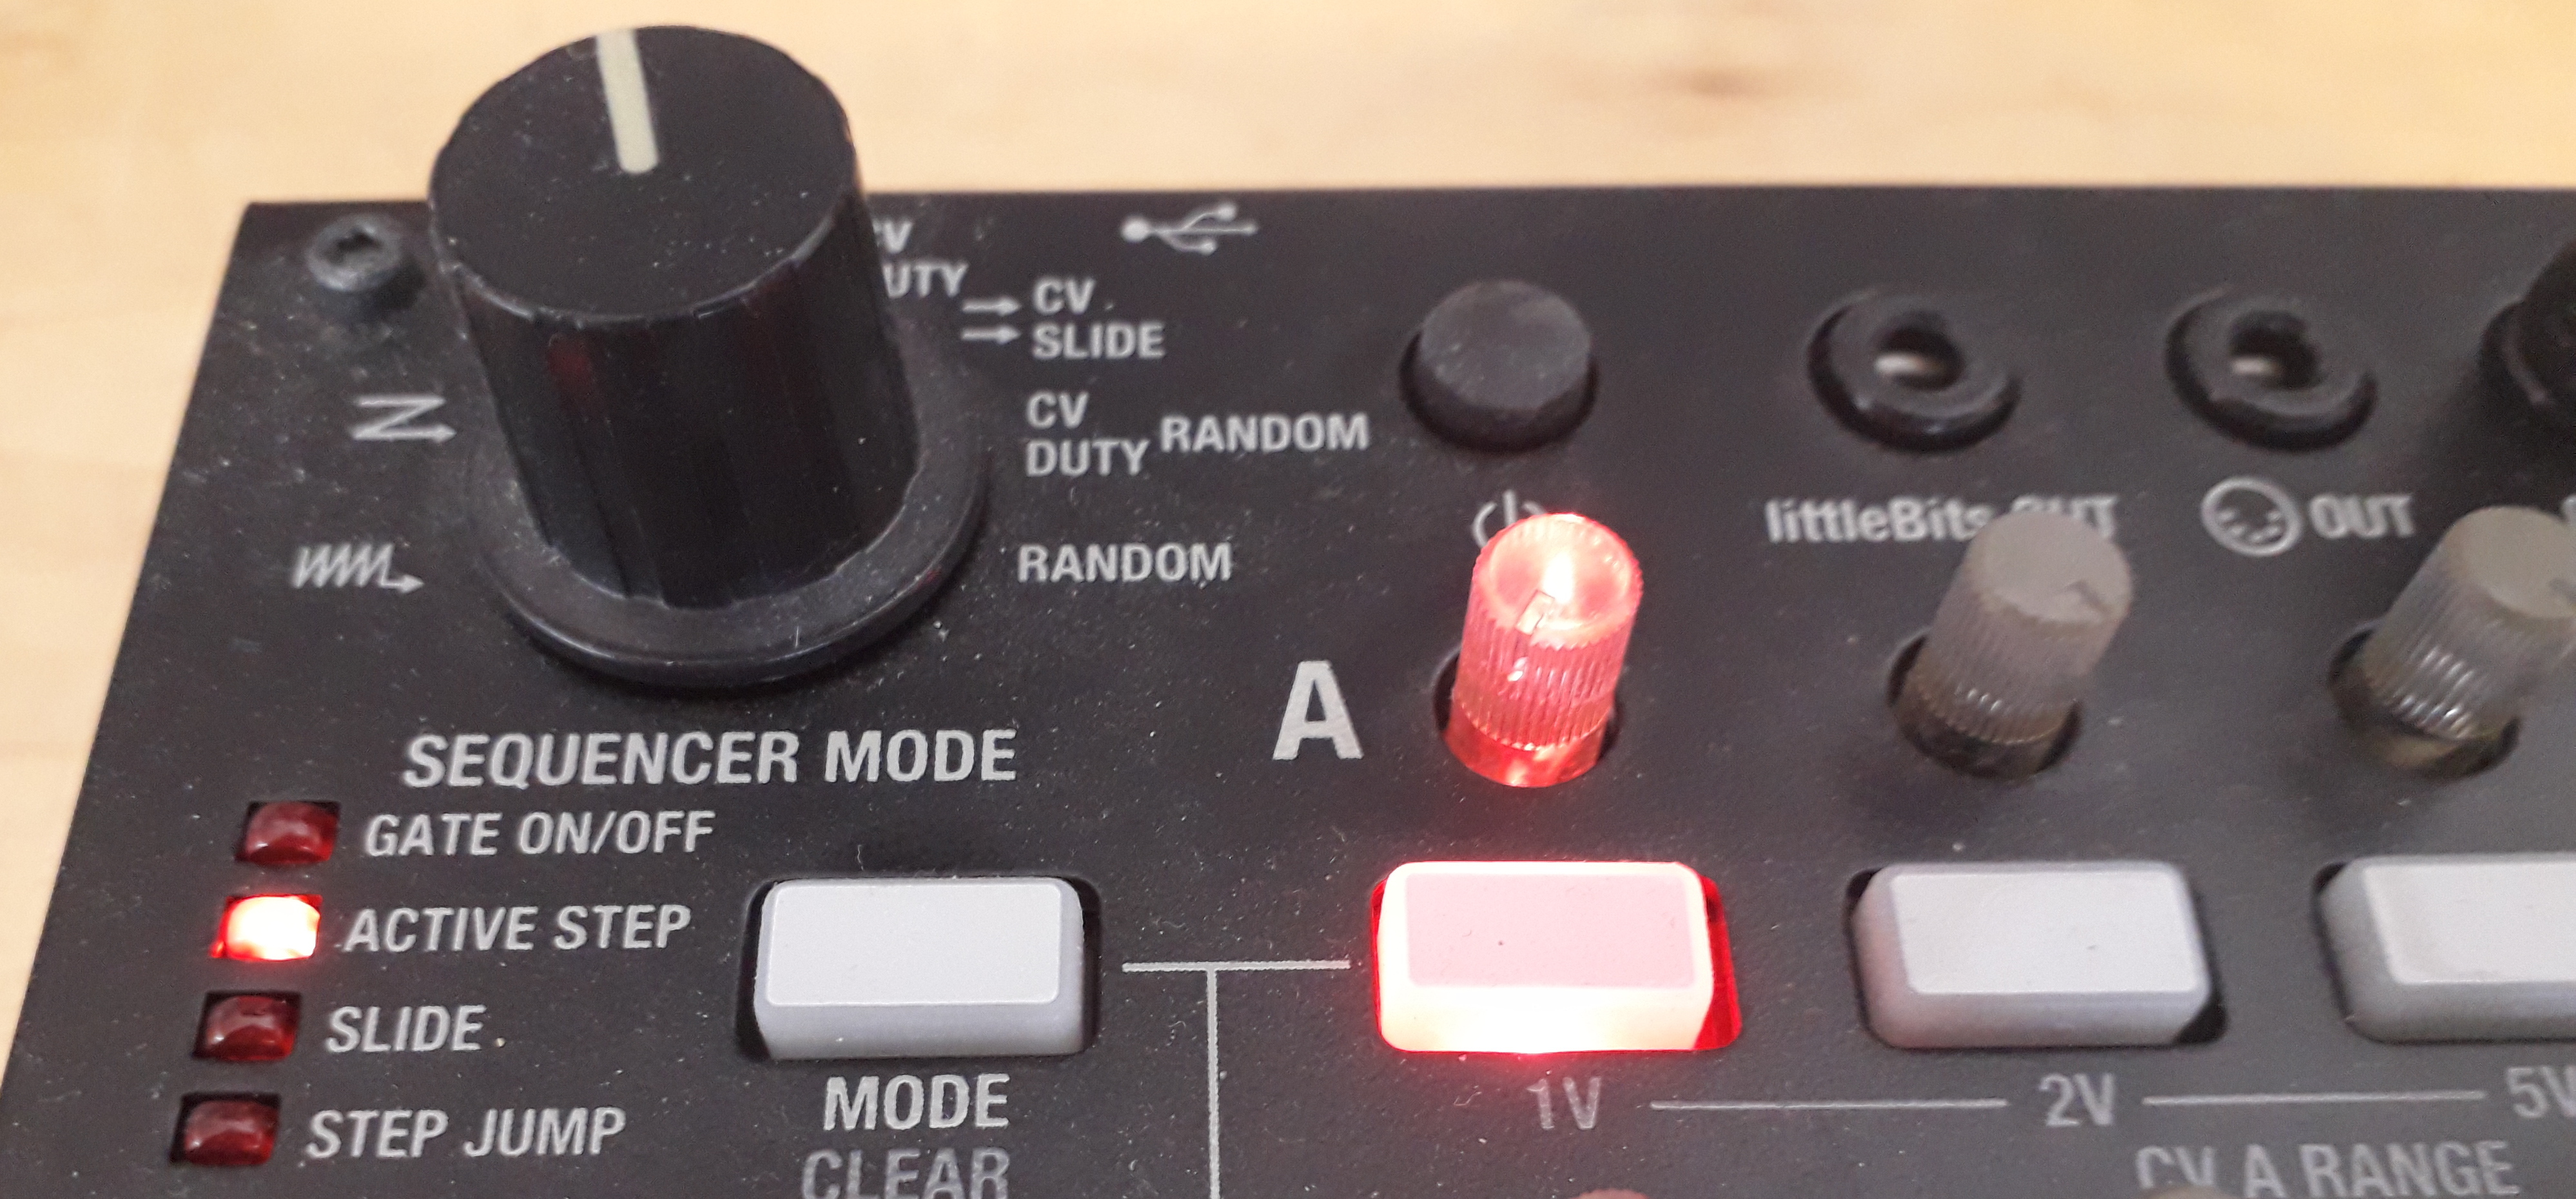
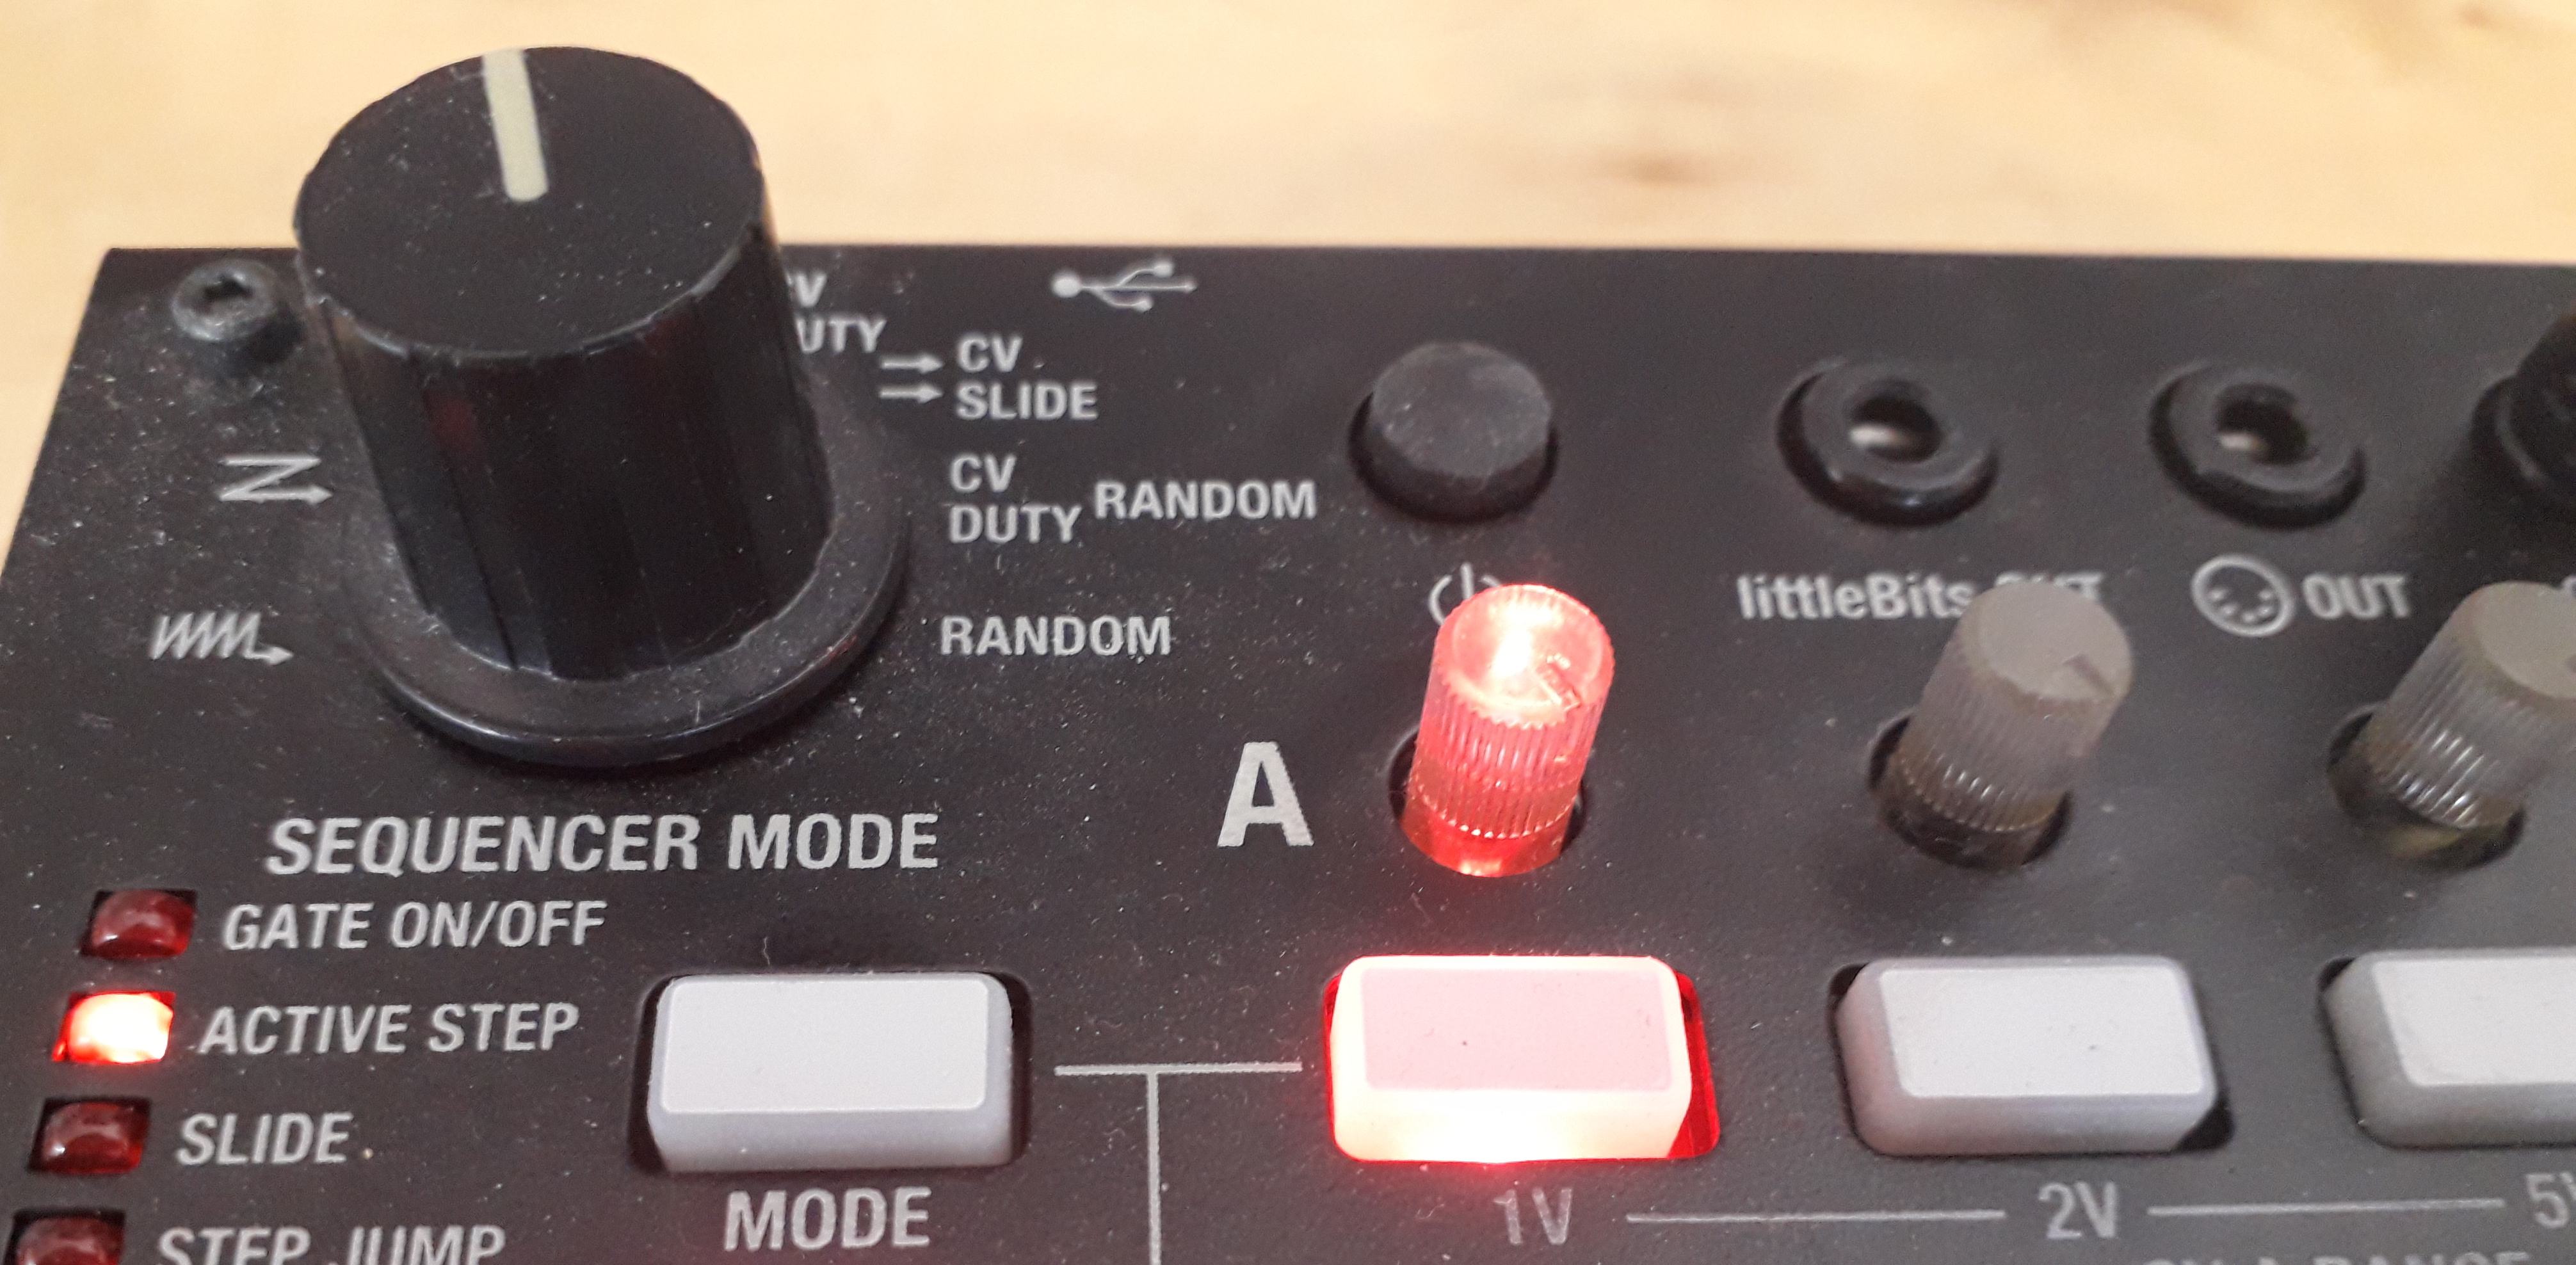
- Apply a voltage from your sequencer
- Move the switch down and put it back in the middle. The led should blink faster for about 1 second
- Apply a voltage that is exactly 1V higher
- Move the switch up and put it back in the middle. The leds should blink faster for about 1 second
- Apply a 0V touching the ground with the tip of a jack
- Move the switch down a last time and put it back in the middle. The leds should blink faster for 1 second
- After having repeated this steps for all inputs, you can switch OFF the module

Your module is now updated and calibrated, you can put it on your rack and enjoy the new possibilities!