
Updating using last firmware
This is the most simple solution to update your synth firmware.
You can’t break your synth if the update fail.
An update will erase all your user preset.
- Download this file and unzip it.
- Download the desired firmware version here and put it inside the previous folder.
- Unplug the power supply of the synth.
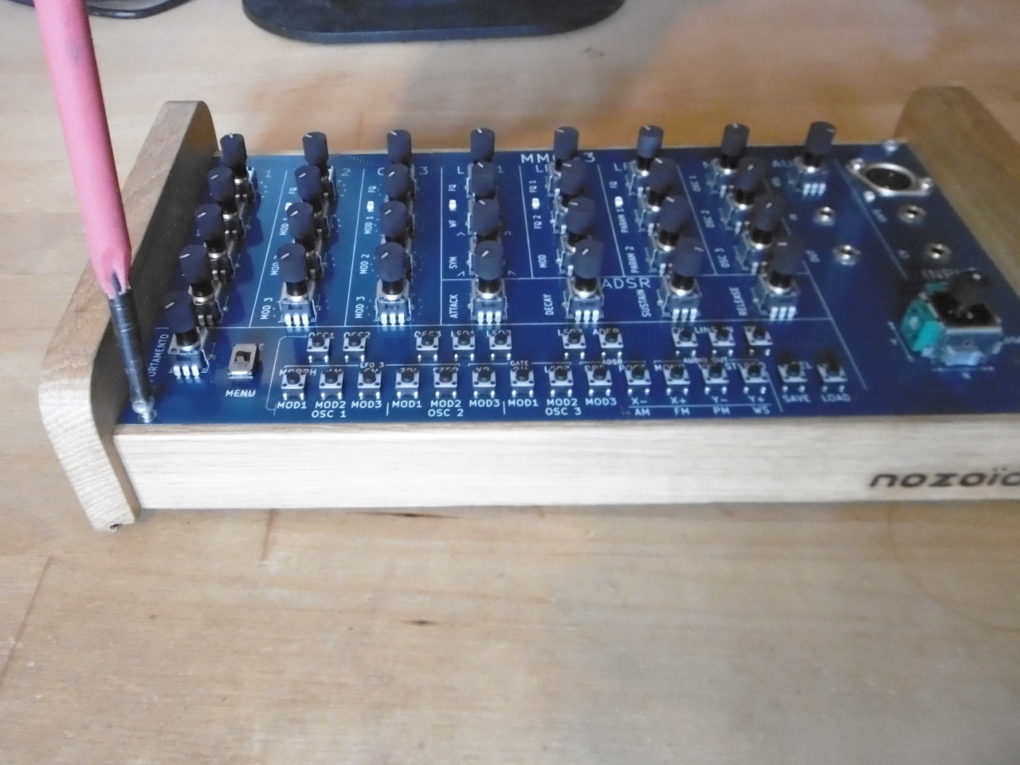
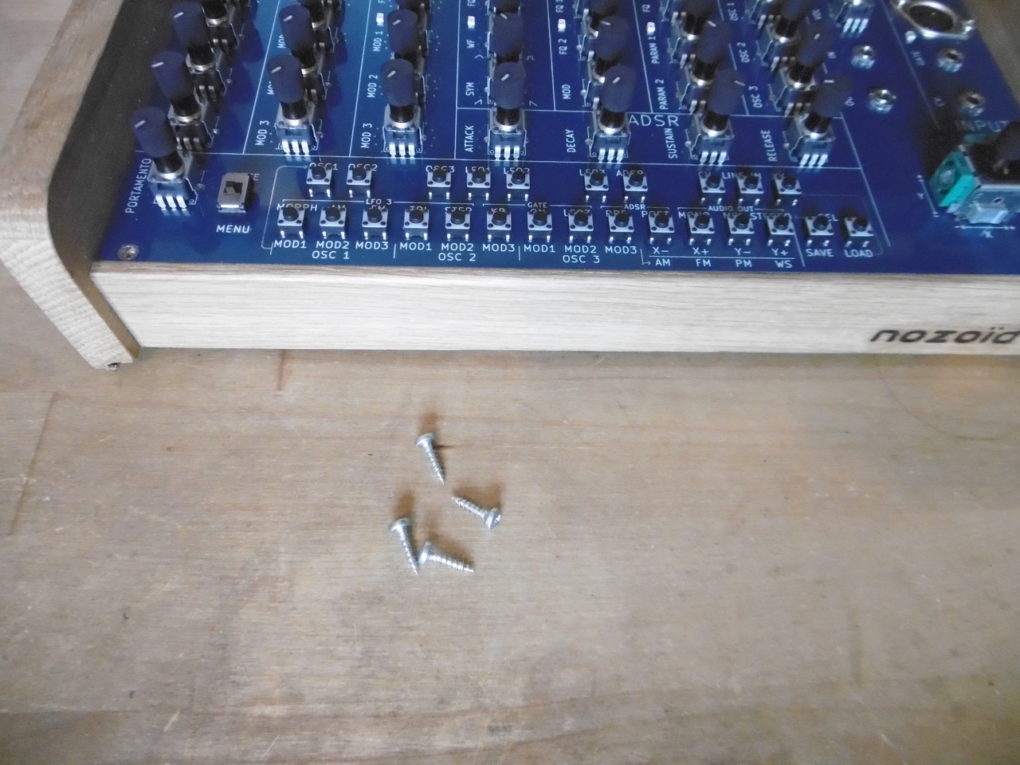
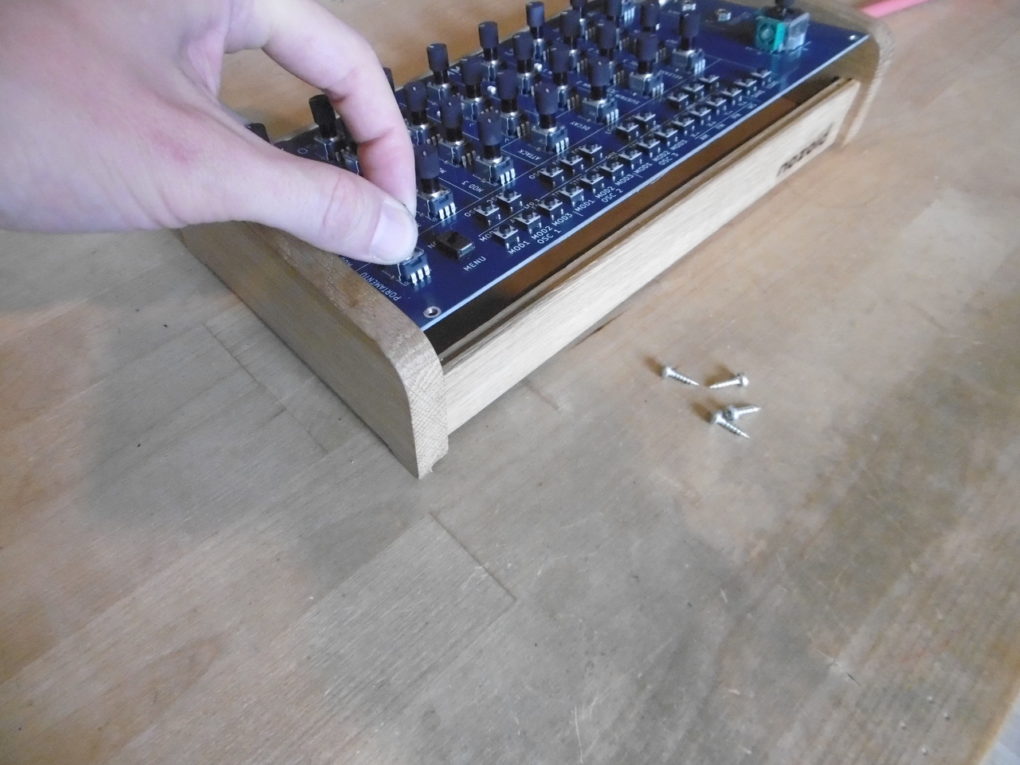
- Remove the 4 screws on the front of the synth and pull the front face.
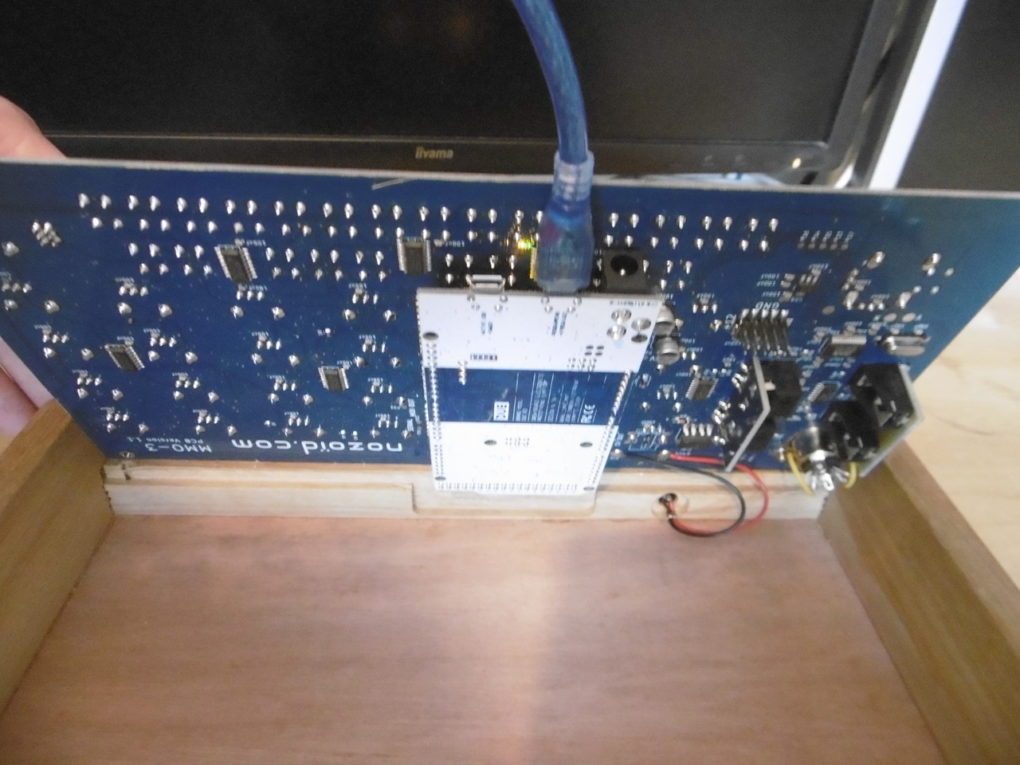
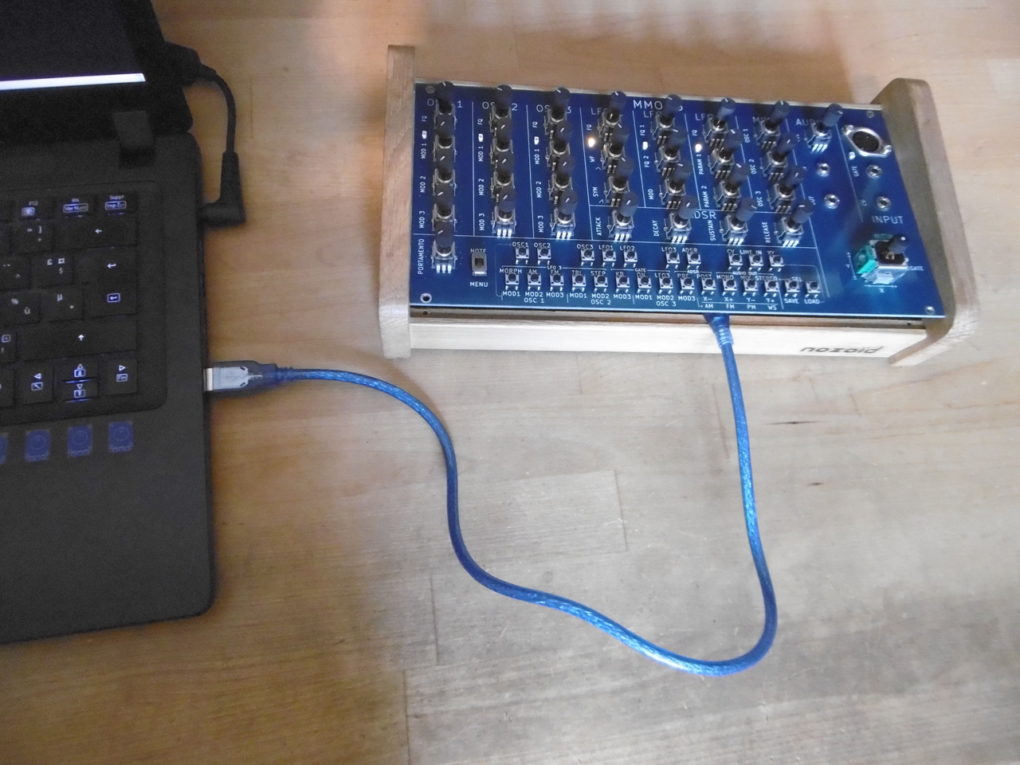
- Plug a micro usb cable between your synth and your computer. (there are 2 plugs, use only the one in the centre, named “programming atmega 16u2”).

The rest of the procedure changes depending on your operating system :
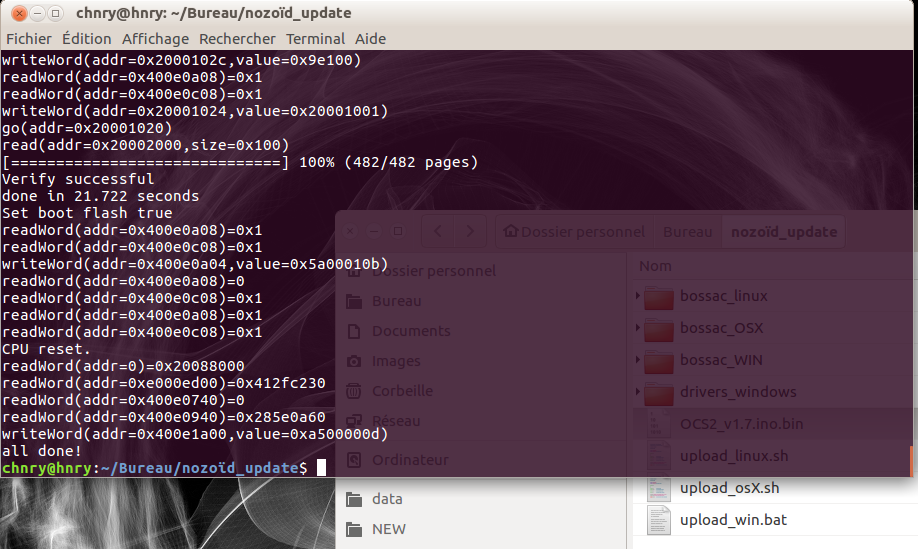
Linux
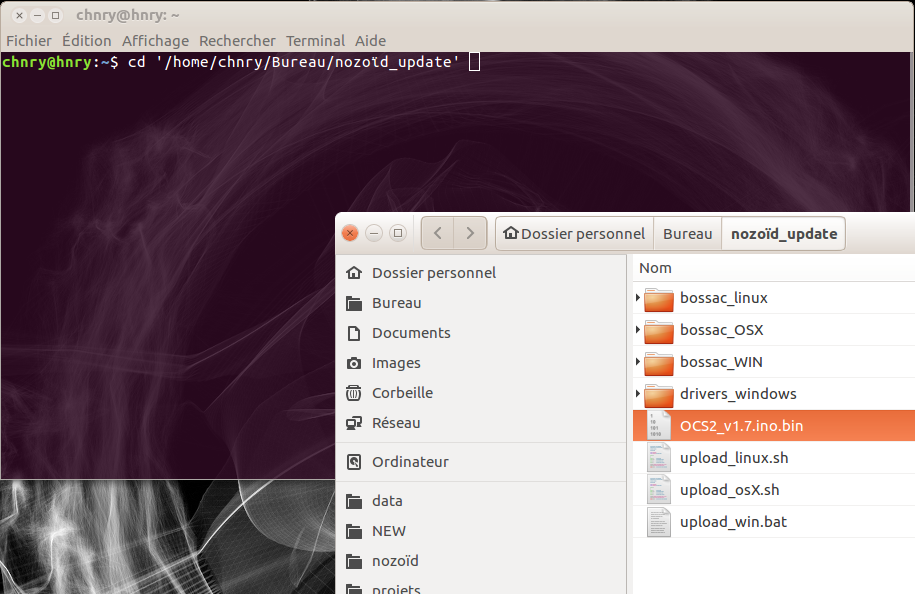
- Open a terminal.
- cd to the folder you download and unzip.
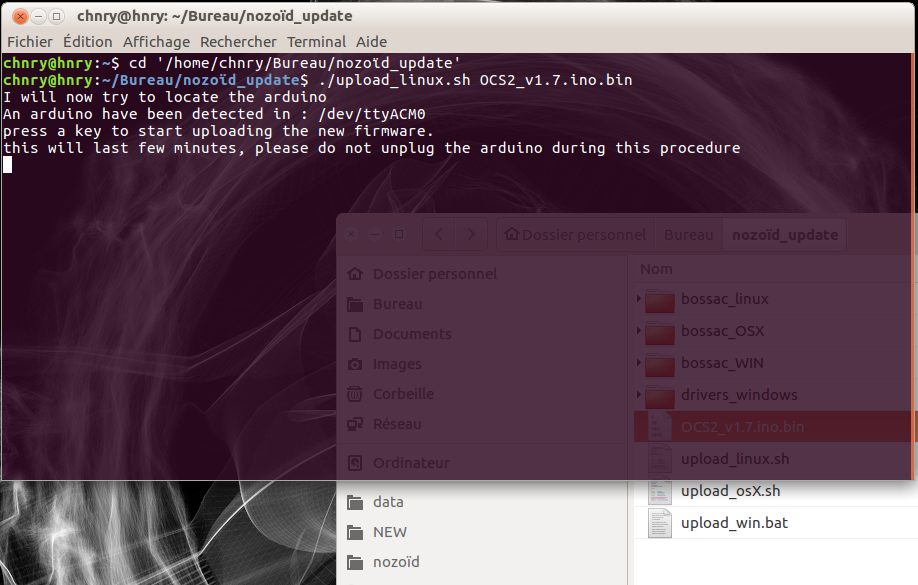
- Start ./upload_linux.sh OCS2_v1.7.ino.bin (change the binary file-name if needed).
- The script will locate the arduino (it should be in /dev/ttyACM0) and proceed with the update.
- Press any key when asked.
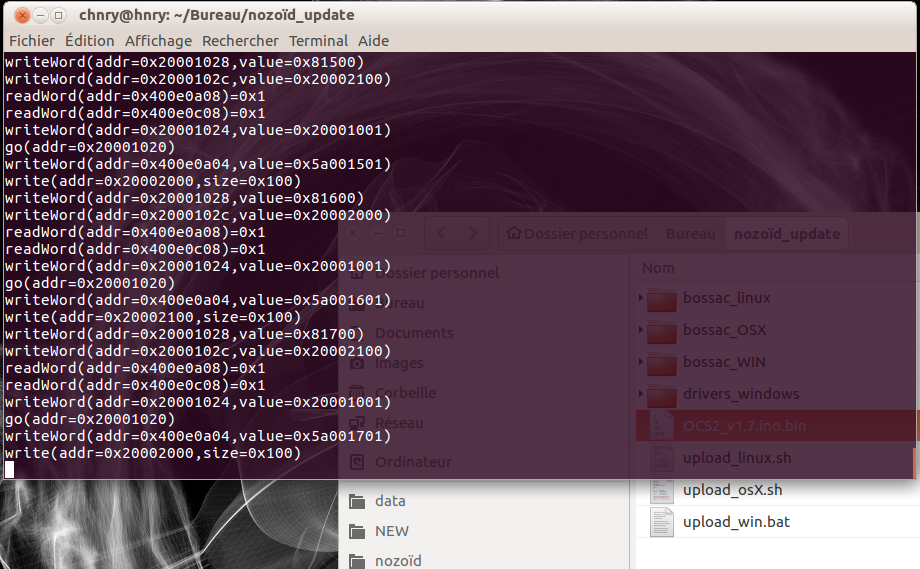
- The update last for about 1 min : do not unplug the synth during the update.
- After the update, the synth leds should blink, you can remove the cable and close the box.

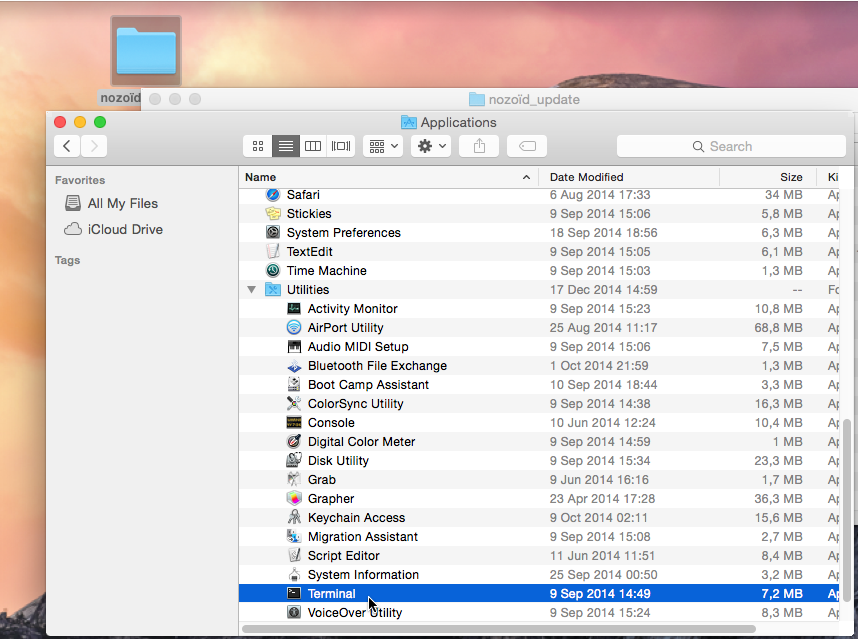
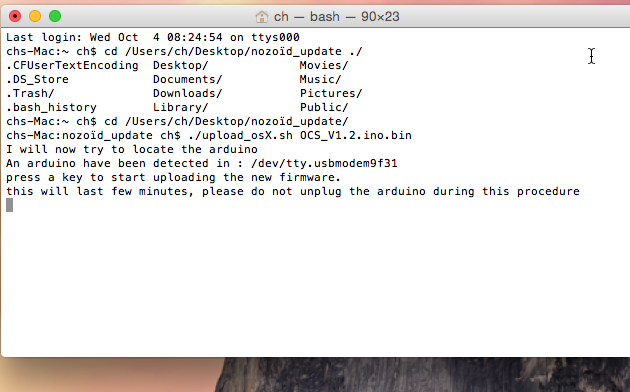
osX
- Open a Finder, go to Applications.
- In the Utilities folder, start a “Terminal”.
- You can also open a Terminal using Spotlight (Special+Space), typing : “Terminal” + Enter
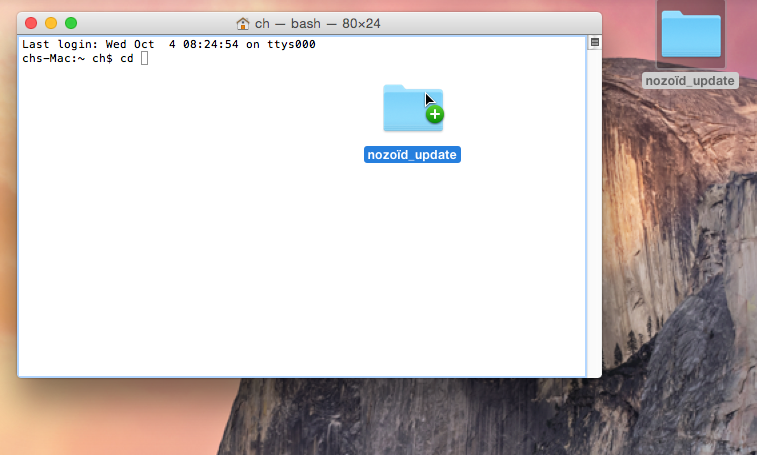
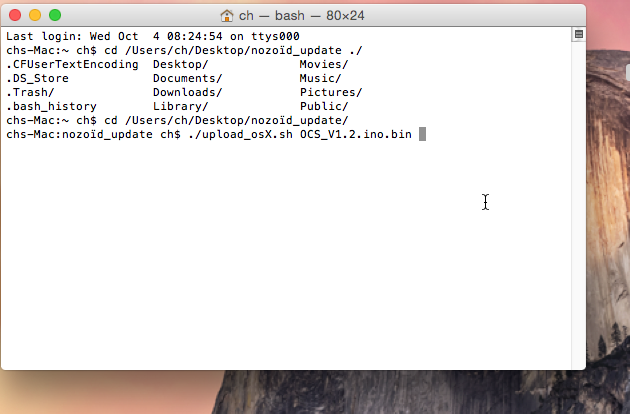
- In this terminal, type “cd ” (with a space) and drag and drop the folder you download and unzip earlier, press ENTER.
- Type : ./upload_osX.sh, add a “space” and the name of the synth firmware and press ENTER.
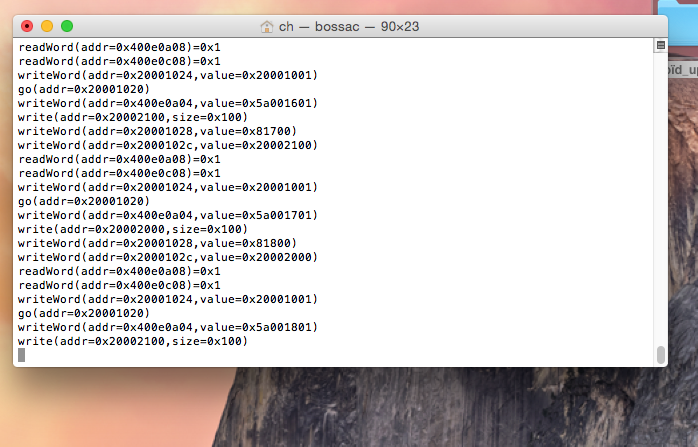
- The script will locate the arduino and proceed with the update.
- Press any key when asked.
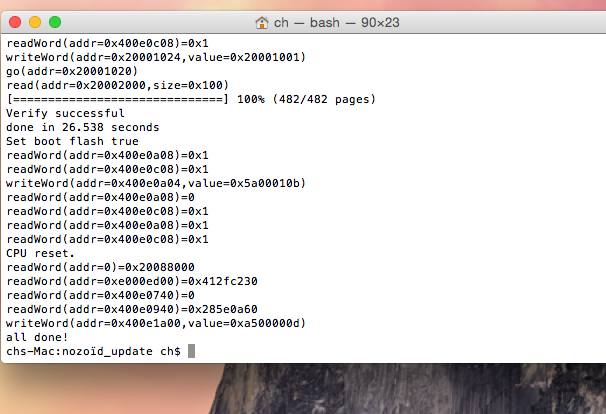
- The update last for about 1 min : do not unplug the synth during the update.
- After the update, the synth leds should blink, you can remove the cable and close the box.
Windows
On Windows, you need to install a driver for the arduino device.
- Windows should initiate its driver installation process once the board is plugged in, but it won’t be able to find the driver on its own. You’ll have to tell it where the driver is.
- Click on the Start Menu and open the Control Panel.
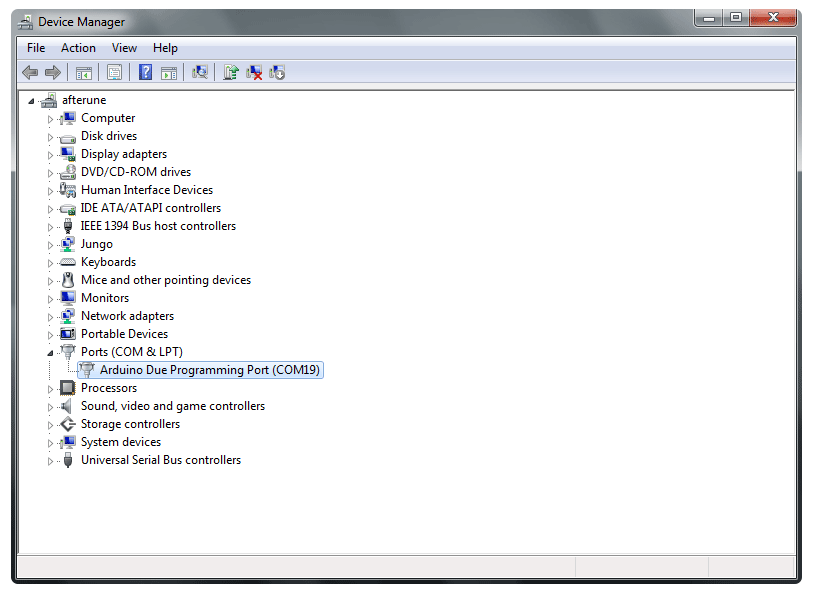
- Navigate to “System and Security”. Click on System, and open the Device Manager.
- Look for the listing named “Ports (COM & LPT)”. You should see an open port named “Arduino Due Prog. Port”.
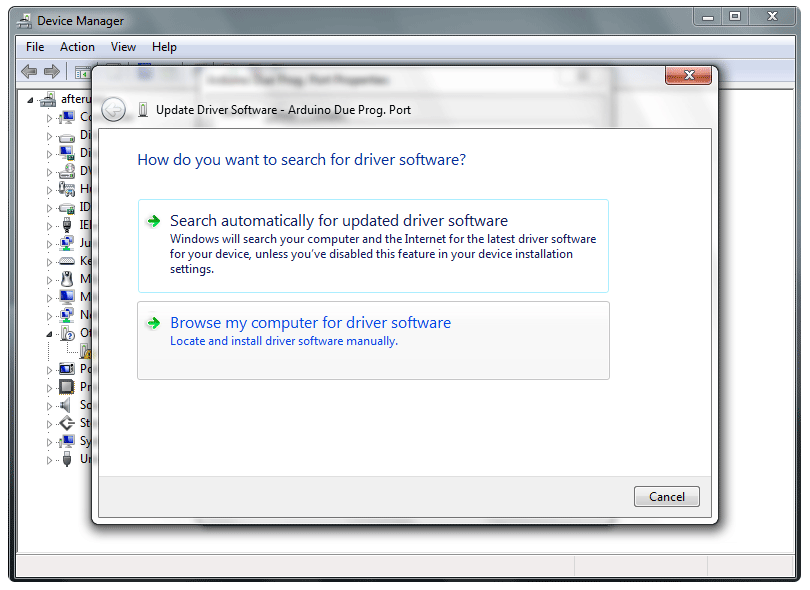
- Right click on the “Arduino Due Prog. Port” and choose “Update Driver Software”.
- Select the “Browse my computer for Driver software” option.
- Navigate to the folder you downloaded and unzipped earlier. Locate and select the “Drivers_windows” folder. Press “OK” and “Next” to proceed.
- If you are prompted with a warning dialog about not passing Windows Logo testing, click “Continue Anyway”.
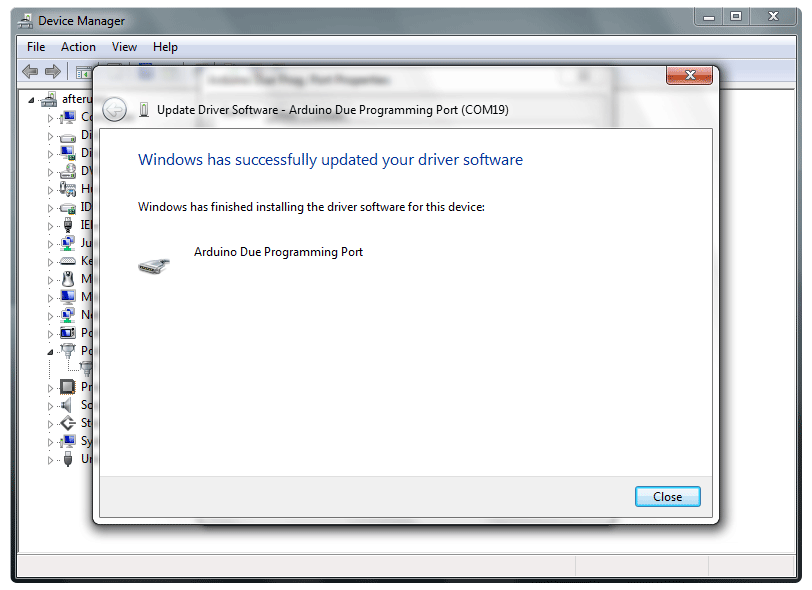
- Windows now will take over the driver installation.
- You have installed the driver on your computer. In the Device Manager, you should now see a port listing similar to “Arduino Due Programming Port (COM4)”.
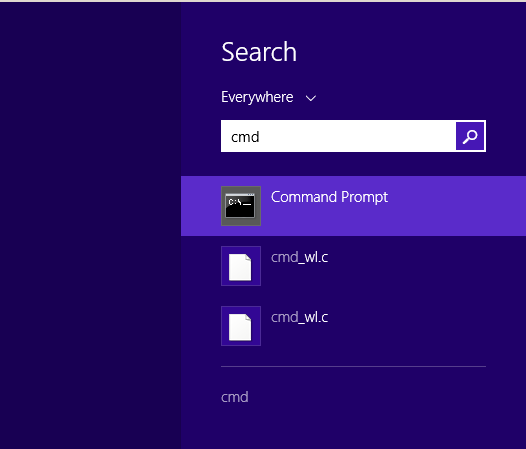
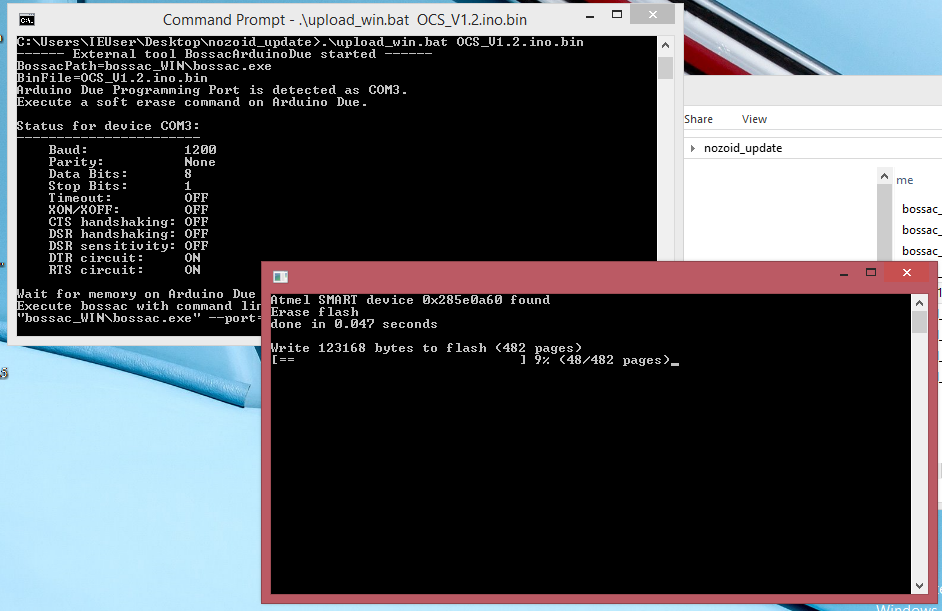
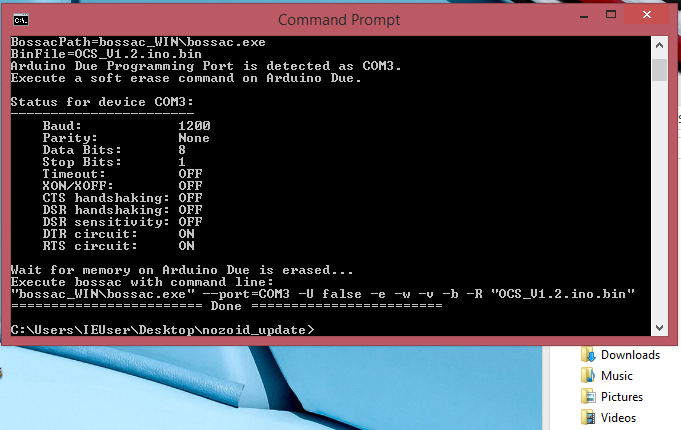
- Click on the start menu and type cmd to open a “Command Prompt”.
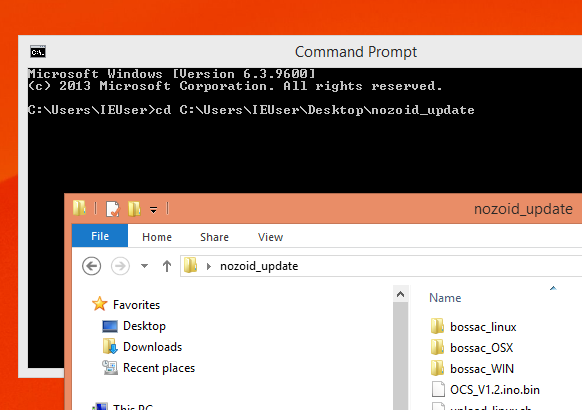
- Type : cd and drag and drop the folder you download and unzip earlier, press ENTER.
- Type : .\upload_win and the name of the synth firmware and press ENTER.
- The script will locate the arduino and proceed with the update.
- The update last for about 1 min : do not unplug the synth during the update.
- After the update, the synth leds should blink, you can remove the cable and close the box.


Updating using the source code
This procedure is more complex but allow you to hack the synth and customize it since you can change few option in the source code.
You need to install the arduino development platform.
you also need to get the synth source code : OCS-2 or MMO-3
The instructions to proceed are in the info.txt file in the source code folder